If you have a problem with your Gtech vacuum cleaner filter, you’re in the right place. Here we’ll help you find the issue your vacuum has . . .
Gtech Vacuum Cleaner Filter Cleaning – How To
Follow the steps below to clean the filters of your Gtech vacuum cleaner . . .
Step 1. Turn your vacuum cleaner off and unplug it from the power outlet before you start the cleaning process. Cleaning any part of your Gtech vacuum cleaner when the machine is turned on or plugged into the power outlet can cause electrocution.
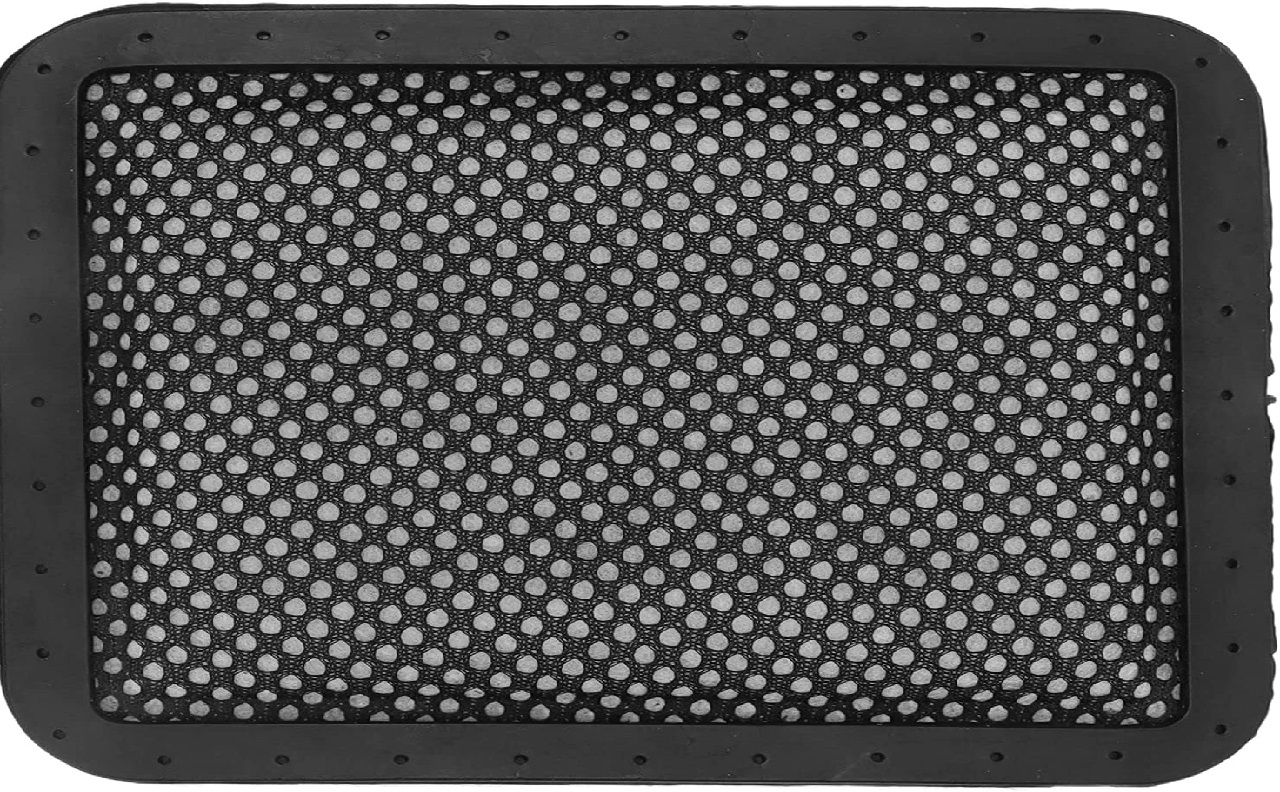
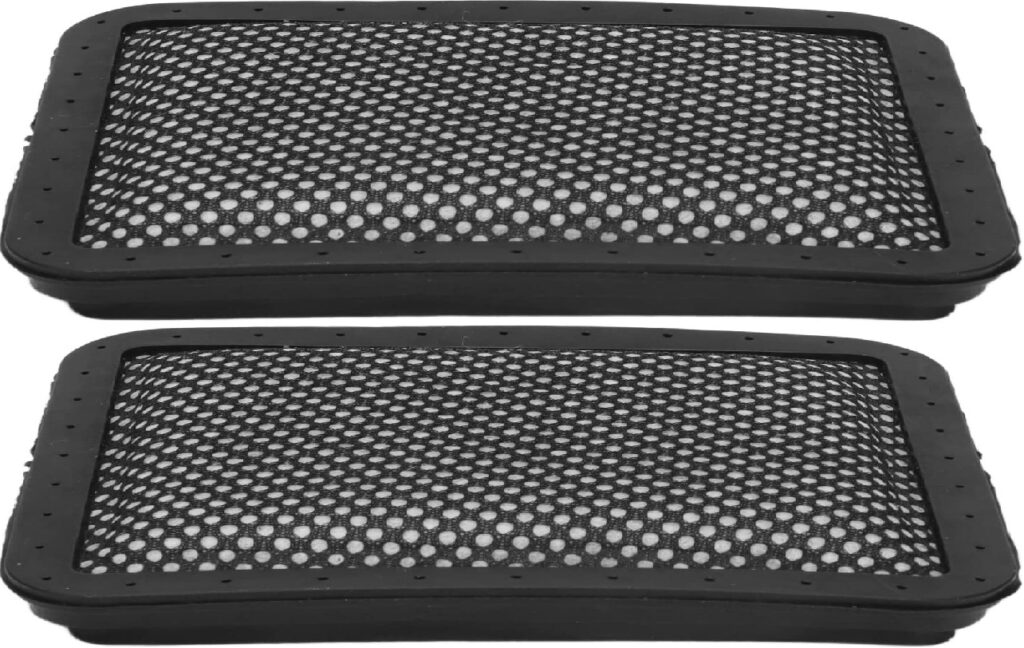
Step 2. On the top part of the brush head attachment, you will see the filter casing. Take the filter case out of the vacuum cleaner. Set the rest of the vacuum cleaner aside.
Step 3. Take the filter chamber out of the filter case. Set the filter case aside.
Step 4. Get a flathead screwdriver and then use it to twist the little in between the filters holding them in place.
Step 5. Take the filters out of the filter chamber. Set the filter chamber aside.
Step 6. Tap the filters on the side of a trash can or sink to get rid of loose dust and debris.
Step 7. Wash the filters with water and no detergent and then leave them to dry. Make sure the filters are completely dry before reconnecting them to the filter chamber. Using your Gtech vacuum cleaner with a wet filter can cause it to malfunction.
Step 8. When they are completely dry, reconnect the filters to the filter chamber and make sure to lock them in place properly.
Step 9. Reconnect the filter chamber to the filter casing and make sure to lock it in place properly.
Step 10. Reconnect the filter casing to the vacuum cleaner.
Step 11. Turn your Gtech vacuum cleaner back on and you can start cleaning with it again.
Gtech Vacuum Cleaner Filter Change – How To
Follow the steps below to change the filter of your Gtech vacuum cleaner properly . . .
Step 1. Make sure your vacuum cleaner is turned off and unplugged from the power outlet before you start the replacement process. Replacing any part of your Gtech vacuum cleaner when the machine is turned on or plugged into the power outlet can cause electrocution.
Step 2. On the top part of the brush head attachment, you will see the filter casing. Take the filter casing out of the vacuum cleaner and then set the rest of your machine aside.
Step 3. Separate the filter case from the filter chamber. Set the rest of the filter case aside.
Step 4. Get a flathead screwdriver and then use it to twist the little lock in between the filters holding them in place.
Step 5. Take the filters out of the filter chamber and then set them aside.
Step 6. Get new Gtech vacuum cleaner filters of the same kind and then put them in place of the old ones. Use the little lock to secure the filters in place properly.
Step 7. Reconnect the filter chamber to the filter casing and make sure to lock it in place properly.
Step 8. Reconnect the filter case to the top part of the brush head attachment and make sure to lock it in place properly.
Step 9. Turn your Gtech vacuum cleaner back on and you can start cleaning with it again.
Gtech Vacuum Cleaner Filter Smelling – Why and How To Fix
If the filters of your Gtech vacuum cleaner are emitting a bad odor, the problem could be that the filters are dirty. To solve the problem, you will need to clean the vacuum cleaner filter.
After cleaning the filter of your Gtech vacuum cleaner, check if the bad smell has disappeared from the filter.