When you buy an LG vacuum cleaner, you will need to learn how to use it. Here’s a quick guide on how to use an Lg vacuum cleaner properly . . .
Table of Contents
How To Use LG Vacuum Mop
Follow the steps below to use the mop pads on an LG vacuum cleaner. . .
Step. 1 Take out two of the four mop pads that came with your vacuum cleaner.
Step. 2 Wet the mop pads under running water. Running water on the mop pads lets you start cleaning immediately instead of having to wait for the vacuum’s water supply to soak the mop pads.
Step. 3 Squeeze the mop pads until they are just a little bit damp.
Step. 4 Place the mop pads on the mop plate with the gray side of the mop pads facing upwards.
Step. 5 Turn the mop attachment over then press the PUSH button to separate the water tank from the rest of the attachment.
Step. 6 On each side of the water tank you will see a tank. Open one side of the water tank and fill it with water until the water level reaches the MAX line.
Step. 7 When the water tank is full, close the side using the cap.
Step. 8 Reconnect the water tank to the mop attachment and push it down carefully until you hear it lock with a click.
Step. 9 Push the droplet icons to adjust the water flow setting.
Step. 10 To turn the water off, move the button to the stop position.
Step. 11 Always make sure you do not clean any rough surfaces or carpets with the mop attachment. You can start using your vacuum cleaner now.
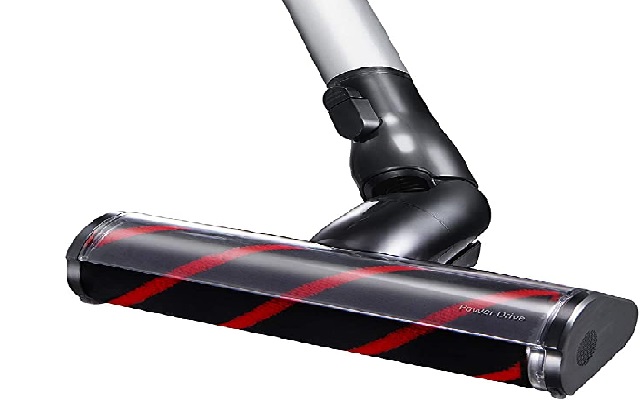
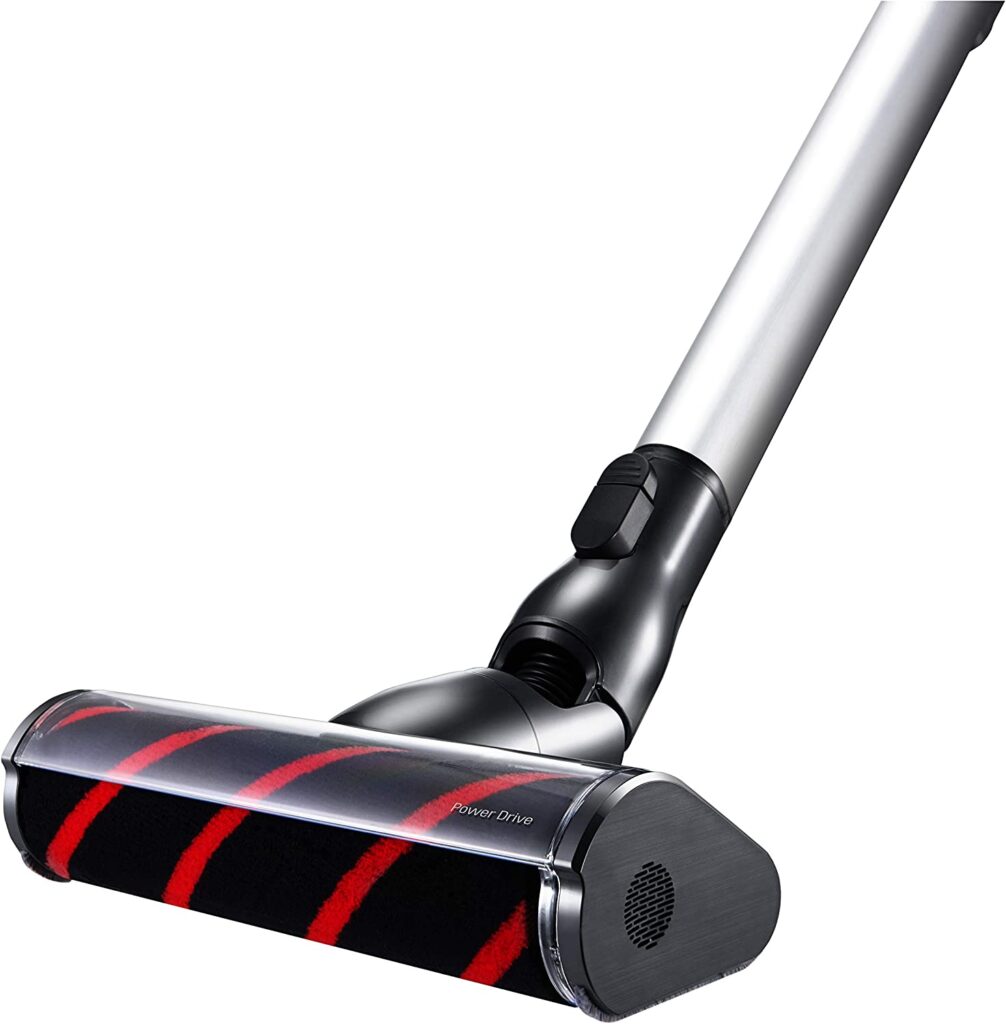
How To Use LG Stick Vacuum
Follow the simple steps below to use an LG stick vacuum cleaner . . .
Step. 1 Insert the support stick into the base of the vacuum. Once you connect the support stick to the base of the vacuum, it cannot be separated.
Step. 2 Slide the charging station to the support stick.
Step. 3 Put the orange battery into the battery case in the charging station.
Step. 4 Connect the charger cable into the jack at the back of the charging station.
Step. 5 Insert the charging cable into the hooks at the bottom of the jack and near the base of the vacuum cleaner.
Step. 6 Insert the second battery into the casing at the bottom of the handle of the vacuum head.
Step. 7 Attach the wand to the floor attachment by pushing it in until you hear it lock with a click then attach the top part of the wand to the vacuum head.
Step. 8 To disconnect the wand from any of the attachments, simply press the release button in the center of the place where the ends of the wand and attachment meet. You can attach and detach the accessories to the end of the wand and charging station the same way.
Step. 9 Choose a place where you would like to keep the charging station. Make sure the space is free of debris and clutter and also make sure the charging station is close to a power outlet that is in good condition.
Step. 10 Plug the charging cable into a power outlet and leave the vacuum to charge for about three hours. You will know that the vacuum is fully charged when the battery indicator light goes dim and you can tell that the battery is charging when the battery indicator light flashes.
Unplug the charging cable from the power outlet once the vacuum cleaner is full
Step. 11 Press the power button to turn the vacuum on in the normal mode.
Step. 12 To extend the vacuum wand, press the button at the back of the wand then stretch it until you hear it lock with a click at your desired level. The wand extends in four steps.
Step. 13 To swap the main battery with the auxiliary battery, press the tab on both sides of the battery to pull the battery out.
Step. 14 Make sure you do not lean the vacuum against a wall or a chair because leaning it against a chair or wall can cause the vacuum to fall and get damaged.
Step. 15 Do not use any of the attachments to clean TVs, LCDs or monitors because the attachments can scratch the surface of your electronics.
Step. 16 Whenever any of the attachments are not in use, always hang them at the bottom of the charging station.
Step. 17 Whenever the vacuum cleaner isn’t being used, always hang it on the charging station. You can start using your LG stick vacuum cleaner now.
How To Install LG Vacuum Cleaner
Follow the steps below to install an LG robot vacuum cleaner . . .
Step. 1 Move any object within 1.5m to the right and left side of the vacuum and also move any object within 2.0m to the front of the vacuum.
Step. 2 Keep the home station against a wall so that it won’t move.
Step. 3 Wrap the power cord around the hook at the back of the home station then hook it into one of the other hooks at the bottom of the home station to make sure that it doesn’t get caught in the rotating brush.
Step. 4 Connect the power cord of the charging station to the power outlet when using the vacuum cleaner.
Step. 5 Make sure your environment is arranged properly before you begin the cleaning process.
Step. 6 Make sure you remove the chairs from the tables so that the vacuum will have a clear space to go through.
Step. 7 Make sure there are no thin and light obstacles (hangers, carpets, rugs, towels, cloths, etc.) blocking the way of the vacuum because they can get stuck at the bottom of the vacuum cleaner.
Step. 8 Move any wires on the floor to a higher place to ensure that they don’t get caught at the bottom of the vacuum cleaner.
Step. 9 Press the switch at the left rear side of the vacuum cleaner to turn it on and off.
Step. 10 Press the start/stop button on top of the vacuum for about a second until you hear a “ting”sound.
Step. 11 If the vacuum cleaner doesn’t come on when you press the start/stop button, then the battery needs to be recharged. Place the vacuum cleaner in front of the charging stand.
Step. 12 Check if the mop plate is attached to the vacuum. If the mop plate is connected to the vacuum, the machine won’t be able to cross the border of 5-10mm to prevent contamination of the mop.
Step. 13 You can remove the filter and the sponge by pulling on the hook at the back of the vacuum canister.
Step. 14 Clean the filter with a vacuum cleaner or a cleaning brush attachment. Make sure you do not wash the filter with water because using water on it can cause it to get weakened. Always make sure that the sponge and filter are properly placed in the dust box filter.
Step. 15 Empty the vacuum canister after each use then wipe it with a cleaning brush or wash under running water.
Step. 16 When you finish washing the canister make sure you leave it to dry in a well ventilated place.
Step. 17 You should clean the vacuum brush at least once every week.
Step. 18 To access the vacuum brush, flip the vacuum cleaner upside down and raise the yellow cover at the bottom of the vacuum. When you open the yellow cover, you will see the vacuum brush.
Step. 19 Take out the vacuum brush.
Step. 20 Use a pair of scissors to carefully cut any hair that may be stuck on the vacuum brush then use a cleaning brush attachment to wipe off any dust that may be stuck on the brush.
Step. 21 When you are done cleaning the brush, put it back in its place in the vacuum cleaner then put the yellow cover on. Make sure you do not wash the brush with water.
Step. 22 Make sure you keep foreign matter like hair or thread away from the rotary side brush because if any of these things get caught in the brush, an error might occur and the brush won’t be able to rotate properly.
Step. 23 If hair or thread happens to get caught in the side brush, use a screwdriver to loosen the screws on both brushes then use a pair of scissors to carefully cut the hair or thread that is stuck in the side brush.
Step. 24 If the sensor is dirty, the vacuum cleaner won’t be able to clean properly. You will need to clean the sensor window and the charging port everyday with a soft piece of cloth to ensure that the vacuum cleaner functions properly.
You can start using your LG robot vacuum cleaner now.
How To Empty LG Vacuum
Here we will show you how to empty the bin of a normal LG vacuum and an LG robot vacuum . .
How to empty and LG vacuum
Here’s how to use the easy emptying system of an LG vacuum cleaner . . .
Step. 1 Turn your vacuum cleaner off.
Step. 2 Push the red lever next to the vacuum canister to push down the dust around the dust separation device.
Step. 3 Hold the vacuum canister over a trash can then press the button on it to get rid of the dust and dirt in it.
Step. 4 Put the cover of the vacuum bin back on then reconnect it to the rest of the vacuum cleaner.
Step. 5 Make sure you do not press the dustbin release while the vacuum cleaner is still running.
How to empty an LG robot vacuum
Follow the steps below to empty an LG robot vacuum cleaner . . .
Step. 1 Turn your vacuum cleaner off.
Step. 2 Press the button below the power button to open the cover of the vacuum.
Step. 3 You will see the canister directly below the cover of the vacuum. Raise the hand of the bin up then pull the canister out.
Step. 4 To open the canister, press the tab on its side then pull the cover up.
Step. 5 Pour out all the dirt into a trash can then put the cover back.
Step. 6 Put the canister back in its place in the vacuum cleaner then put the machine’s cover back on.