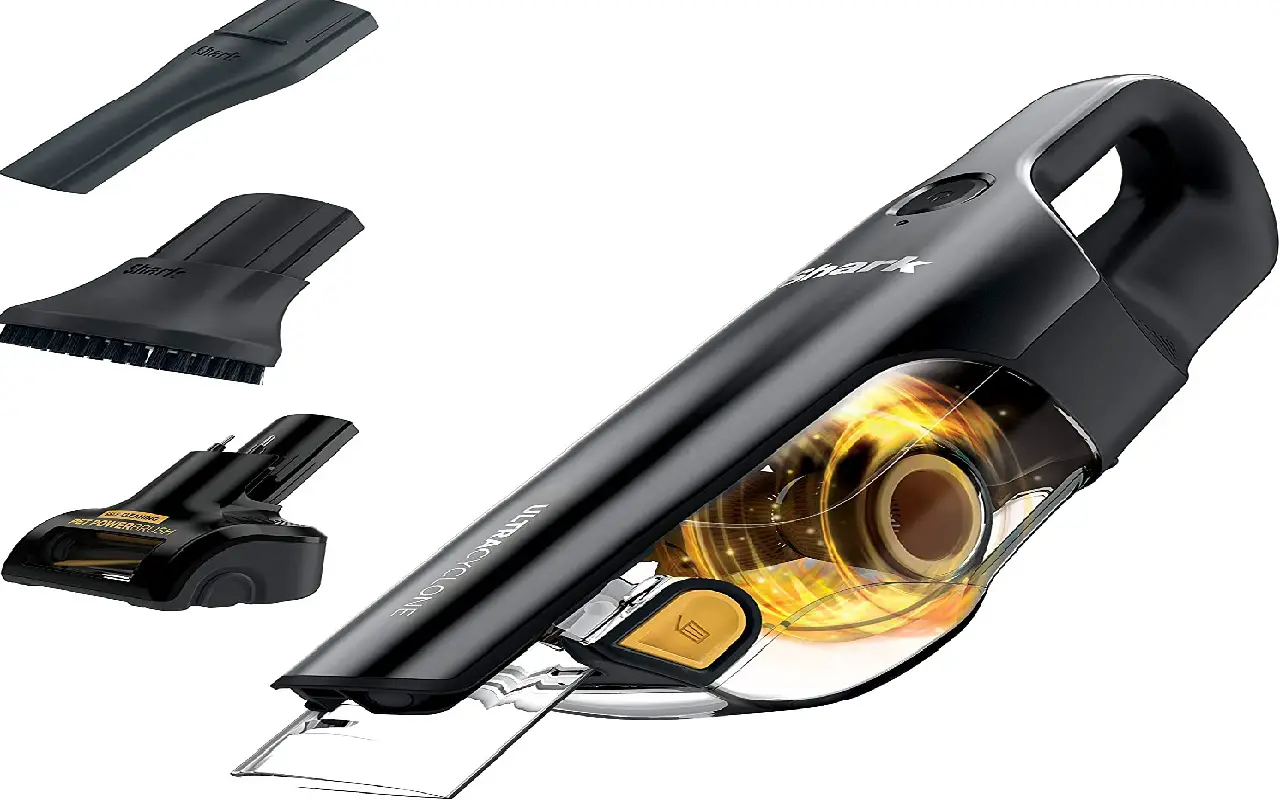
If your Shark vacuum has battery problems, this article is for you. Here we’ll help find the issue your Shark vacuum cleaner battery has . . .
Table of Contents
Shark Vacuum Cleaner Battery Not Charging – Why and How To Fix
If your Shark vacuum battery battery isn’t charging, your machine could have one of four problems. Keep on reading to figure out and to solve the problem your Shark vacuum cleaner has . . .
The power cord is bad
If the power cord of your Shark vacuum cleaner is bad, the machine won’t be able to charge properly. To solve the problem, you will need to replace the power cord. After replacing the power cord of your Shark vacuum cleaner, your machine should start charging properly again.7
The power outlet is bad
If the power outlet that is being used to charge your Shark vacuum cleaner is bad, the machine won’t be able to charge properly. Check if the power outlet is bad by plugging another appliance into it.
If you figure out that the power outlet is bad, to solve the problem, you will need to call an electrician to help you fix it. After fixing the power outlet, your Shark vacuum cleaner should start charging properly again.
The power cord wasn’t properly connected to the power outlet
If the power cord of your Shark vacuum cleaner isn’t properly connected to the power outlet, the machine won’t be able to charge properly. To solve the problem, connect the power cord to the power outlet.
After connecting the power cord to your power outlet properly, your Shark vacuum cleaner should start charging again.
The battery is bad
If the battery of your Shark vacuum cleaner is bad, the machine won’t be able to charge properly. To solve the problem, you will need to replace the vacuum battery. Follow the steps below to replace the battery of different kinds of Shark vacuum cleaners . . .
How to replace the battery of a Shark navigator freestyle vacuum cleaner
Follow the steps below to replace the battery of your Shark navigator freestyle vacuum cleaner properly . . .
Step 1. Make sure you remember to turn your vacuum cleaner off and unplug it from the power outlet before you begin the replacement process.
Replacing any part of your Shark navigator freestyle vacuum cleaner when your machine is turned on or plugged into the power outlet can cause electrocution
Step 2. Flip the vacuum cleaner over to gain access to the vacuum battery cover.
Step 3. You will see the vacuum battery cover close to the brush roller. Take the battery cover out of the vacuum cleaner and set it aside.
Step 4. Take the battery out of your vacuum cleaner and set it aside.
Step 5. Put a new Shark navigator battery of the same kind in the place of the old one.v5
Step 6. Put the battery cover back on and make sure to lock it in place properly.
Step 7. Flip your vacuum cleaner over again and let it stand upright.
Step 8. Charge the vacuum cleaner battery until it is full
Step 8. Turn your Shark navigator freestyle vacuum cleaner back on and check if it is working like it is supposed to now.

How to replace the battery of an Shark pet perfect vacuum cleaner
Follow the steps below to replace the battery of your Shark pet perfect vacuum cleaner . . .
Step 1. Turn your vacuum cleaner off and unplug it from the power outlet before you start.
Step 2. Flip your vacuum cleaner over to gain access to the vacuum battery cover.
Step 3. Get a Phillips head screwdriver and use it to take out the screw holding the battery cover in place. Keep the screw in a safe place.
Step 4. Take the battery cover out of the vacuum cleaner and set it aside.
Step 5. After taking the battery cover out, you will see a little plastic part holding the battery in place. Take the battery holder of the vacuum cleaner and set it aside.
Step 6. Take the old battery out of the vacuum cleaner and set it aside.
Step 7. Put a new Shark vacuum cleaner battery of the same kind in the place of the old one then put the battery holder back in your machine.
Step 8. Put the battery cover back on and put the screw that you removed earlier back in its place.
Step 9. Flip your vacuum cleaner over again and keep it in the upright position.
Step 10. Charge the vacuum cleaner battery until it is full before you try using it again.
Step 11. Turn your Shark pet perfect vacuum cleaner back on and check if it is working like it is supposed to now.
How to replace the battery of a Shark ion robot vacuum cleaner
Follow the steps below to replace the battery of your Shark ion robot vacuum cleaner . . .
Step 1. Always make sure your vacuum cleaner is turned off and unplugged from the power outlet before you begin.
Step 2. Flip the vacuum cleaner to gain access to the vacuum battery cover.
Step 3. Get a screwdriver and use it to remove the screws holding the battery cover in place. Keep the screws in a safe place.
Step 4. Take the battery cover out of the vacuum cleaner and set it aside.
Step 5. Take the battery out of the vacuum cleaner then disconnect the wire connecting it to your machine.
Step 6. Put a new Shark vacuum cleaner battery of the same kind in the place of the old one. Make sure to lock the battery in place properly.
Step 7. Put the battery cover back on and put the screws that you removed earlier back in their places.
Step 8. Flip your vacuum cleaner over again.
Step 9. Charge the vacuum cleaner until it is full
Step 10. Turn your Shark ion robot vacuum cleaner back on and check if it is working like it is supposed to now.
How to replace the battery of a Shark IQ robot vacuum cleaner
Follow the steps below to replace the battery of your Shark IQ robot vacuum cleaner . . .
Step 1. Ensure that your machine is turned off and unplugged from the power outlet before you start. Replacing the battery of your Shark vacuum cleaner when the machine is turned on o=r plugged into the power outlet can cause electrocution.
Step 2. Disconnect the vacuum tray from the vacuum cleaner and set it aside.
Step 3. Flip the vacuum cleaner over.
Step 4. Get a screwdriver and use it to take out the two screws holding the battery cover in place. Keep the screws in a safe place.
Step 5. Take the battery of the vacuum cleaner.
Step 6. To disconnect the battery wires from the vacuum cleaner, get a pair of scissors or a needle nose pliers and use it to push the little tab on the head of the wires. Pull the battery wires out of the vacuum cleaner and then set the old battery aside.
Step 7. Get a new Shark vacuum cleaner battery of the same kind and put it in the [place of the old one. Use battery wires to lock the new battery in place properly.
Step 8. Put the battery cover back on and then put the two screws that you removed earlier back in their places.
Step 9. Flip the vacuum cleaner then reconnect the vacuum tray to it.
Step 10. Charge the vacuum cleaner until it is full.
Step 11. Turn your Shark IQ vacuum cleaner back on and check if it is working like it is supposed to now.
Shark Vacuum Cleaner Battery Charge Time
Your Shark vacuum cleaner can take about 2-3 hours to get fully charged.
Shark Vacuum Cleaner Battery Light Flashing – Why and How To Fix
Here we will identify the problem your Shark vacuum cleaner might have depending on the number and the color of the flashing lights that your machine is displaying . . .
Shark vacuum cleaner blue light flashing – Why?
If you see a blue flashing light on your Shark vacuum cleaner, there is no need to worry because a blue light on a Shark vacuum just means that the machine is charging.
Shark vacuum cleaner one light flashing – Why and How To Fix
If you see one flashing light on your Shark vacuum cleaner, the problem could be that the machine is overheating and needs to cool down for a while. After leaving your vacuum cleaner to cool down for a while, the blink light should disappear.
Shark vacuum cleaner two lights flashing – Why an How To Fix
If you see two flashing lights on your Shark vacuum cleaner, the problem could be that the vacuum battery is low. To solve the problem, you will need to charge the vacuum battery. Follow the steps below to learn how to charge your Shark vacuum cleaner . . .
Step 1. Turn your Shark vacuum cleaner off before you start the charging process.
Step 2. Connect the power cord to the power outlet then turn the outlet on.
Step 3. Connect the power cord to the vacuum cleaner.
Step 4. Leave the vacuum cleaner to charge for about two to three hours. You can tell that the vacuum is charging when you see the power indicator light flashing.
Step 5. Unplug the power cord from the vacuum cleaner once it is fully charged. You tell that your Shark vacuum cleaner is fully charged when you see the power indicator light turn green then shut off after five seconds.
Step 6. Turn your Shark vacuum cleaner back on and check if the flashing lights have disappeared now.
Shark vacuum cleaner red light flashing – Why and How To Fix
If you see a red flashing light on your Shark vacuum cleaner, the problem could be that the brush roller is jammed. To solve the problem, you will need to replace the brush roller. Here’s how to replace the brush roller of your Shark vacuum cleaner
If you tried replacing the brush roller of your Shark vacuum cleaner but the flashing red light still doesn’t disappear, the problem could be that the motor is burnt. To solve the problem, you will need to replace the vacuum motor. Follow the steps below to replace the motor of your Shark vacuum cleaner . . .
Step 1. Make sure your vacuum cleaner is turned off and unplugged from the power outlet before you begin the replacement process. Replacing any part of your Shark vacuum cleaner when the machine is turned on or plugged into the power outlet can cause electrocution.
Step 2. Disconnect the vacuum canister from the vacuum cleaner and set it aside.
Step 3. Take the foam and the felt filter out of the filter chamber then set them aside.
Step 4. Disconnect the brush head attachment from the vacuum cleaner and then set it aside.
Step 5. Get a cross head screwdriver and use it to take out the screws at the bottom of the vacuum canister chamber. Keep the screws in a safe place.
Step 6. Take out the bottom of the vacuum canister chamber then set it aside.
Step 7. Disconnect the white and the black wires on the vacuum motor then take it out of the vacuum cleaner.
Step 8. Put a new Shark vacuum cleaner motor of the same kind in the place of the old one. Use the wires that you disconnected earlier to lock the new motor in place.
Step 9. Put the motor cover back on and then put the screws that you removed earlier back in their places.
Step 10. Reconnect the brush head attachment to the vacuum cleaner.
Step 11. Reconnect the foam filter and felt filter to the vacuum cleaner.
Step 12. Reconnect the vacuum canister to the vacuum cleaner.
Step 13. Turn your Shark vacuum cleaner back on and check if the flashing red light has disappeared now.
Shark Vacuum Cleaner Battery Life
Your Shark vacuum cleaner can last for about one and a half hours when fully charged.