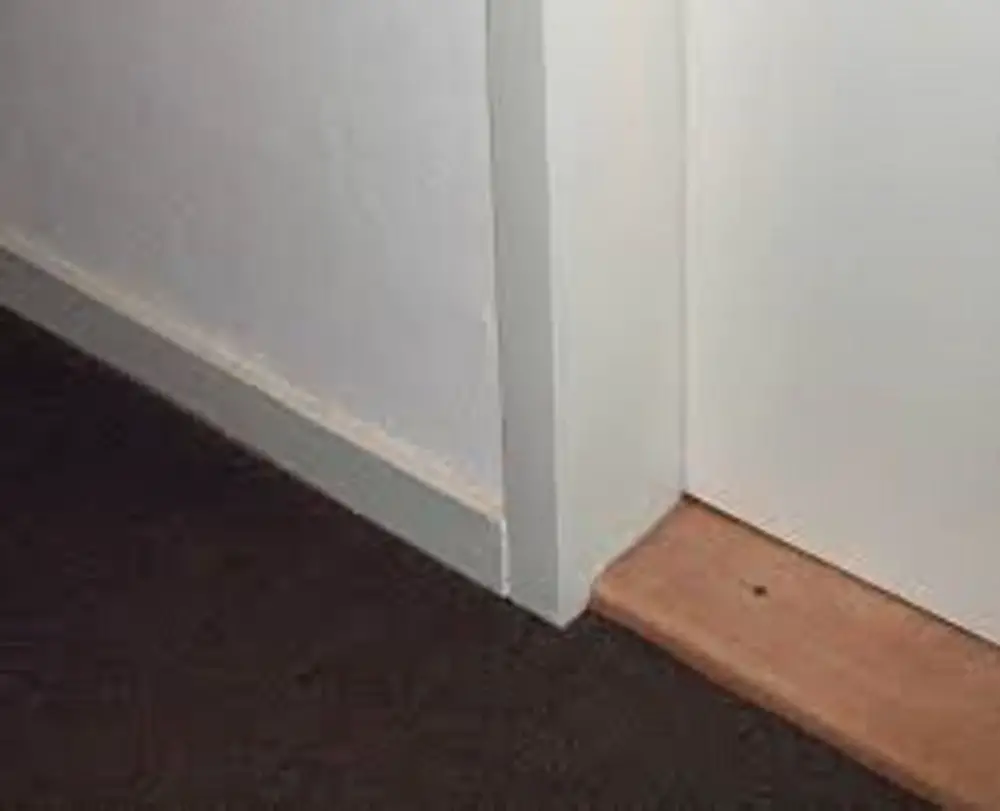
If you’re struggling with cleaning dirty carpet around baseboards, you’ve come to the right place. Dirty carpets are not only an eyesore but can also become a breeding ground for bacteria.
The area around baseboards can be particularly tough to clean due to its proximity to walls. Fortunately, this guide will provide you with a comprehensive, step-by-step method to tackle this issue.

Table of Contents
How to Clean Dirty Carpet Around Baseboards: Materials Needed
- Vacuum cleaner
- Soft-bristled brush
- Carpet cleaner or mild detergent
- Soft cloth
- Bucket of warm water
- Microfiber mop or sponge
Before jumping into the cleaning process, gathering all the necessary materials is crucial for a smooth operation. Ensure you have a functioning vacuum cleaner with the right attachments.
A soft-bristled brush is essential for dislodging stuck particles without damaging the carpet fibers. The type of carpet cleaner or detergent you choose should be suitable for your carpet material, so please read any labels or guidelines.
A soft cloth, a bucket, and a microfiber mop or sponge complete the list. Organizing these materials beforehand saves you time and allows you to work efficiently.
For more articles like this click here – Carpet Cleaning Guide: Navigating the Maze of Muck and Stains
Step 1: Prepare the Area
Preparing the area is the first crucial step in the cleaning process. Start by removing any furniture or obstacles near the baseboards.
This ensures you have unhindered access to the area that needs cleaning. While it may be tempting to skip this step, clearing the area allows you to clean more effectively, ensuring you don’t miss any spots. Once the area is cleared, you can proceed to the next step.
Step 2: Vacuum the Carpet
First and foremost, vacuum the entire carpet area, paying special attention to the section around the baseboards.
The objective here is to remove loose dirt and dust that may have accumulated. Vacuuming prepares the carpet for deep cleaning, making the subsequent steps more effective.
If your vacuum comes with a nozzle or crevice tool, use it for better reach and efficiency around the baseboards. Take your time and ensure you’ve covered the entire area thoroughly before moving on.
Step 3: Use a Soft-Bristled Brush
After vacuuming, some stubborn dirt might still be clinging to the carpet fibers near the baseboards. Using a soft-bristled brush, gently scrub the affected area in a circular motion.
The aim is to dislodge dirt without damaging the carpet. Exercise caution not to scrub too hard as this can harm the fibers and affect the carpet’s appearance. After you’ve sufficiently loosened the grime, you’ll be ready to apply a cleaning solution.
Step 4: Prepare the Cleaning Solution
In a bucket, mix warm water with a carpet cleaner or mild detergent. Make sure to read the instructions on the cleaner’s packaging to know the correct ratio.
Stir the mixture until it forms a homogeneous solution. The water should be warm but not too hot as extreme temperatures could damage your carpet. Once your cleaning solution is ready, proceed to the next step.
Step 5: Apply the Cleaning Solution
With your cleaning solution ready, dip a soft cloth into the bucket and gently apply it onto the dirty area around the baseboards.
Blot the area; do not scrub, as scrubbing might spread the dirt further. Allow the solution to sit for a few minutes, but do not let it dry. This allows the cleaning agents to penetrate the dirt and break it down, making it easier to remove.
Step 6: Rinse with Water
After the cleaning solution has done its job, it’s time to rinse the area. Using a microfiber mop or sponge soaked in clean, warm water, gently go over the cleaned areas.
Make sure to wring out excess water to avoid saturating the carpet. The objective is to remove any leftover detergent or cleaning solution.
Step 7: Dry the Area
Once you’ve rinsed off the cleaning solution, drying the area is the next crucial step. Excess moisture can lead to mold growth and other problems.
Use a clean, dry cloth to blot the area, soaking up as much moisture as possible. For faster drying, you can use a fan or even a hair dryer on a low setting. Make sure the area is completely dry before moving on to the final step.
Step 8: Final Vacuum
With the area now clean and dry, a final vacuuming will help fluff up the carpet fibers and remove any remaining loose dirt.
This leaves your carpet looking fresh and clean. Pay close attention to the area around the baseboards to ensure all the cleaning solution and loosened dirt are completely removed.
How to Clean Dirty Carpet Around Baseboards: Additional Precautions and Troubleshooting
If you’ve followed all the above steps and still find that the carpet around the baseboards remains dirty, don’t fret. There are additional measures you can take to address stubborn stains or ingrained dirt. Here are some troubleshooting tips:
- Spot Test: Before applying any new cleaning solution, always do a spot test on a hidden area of your carpet to ensure it won’t cause discoloration or damage.
- Stain-Specific Cleaners: There are cleaners specifically designed for certain types of stains, like pet stains, grease, or ink. Use these specialized products according to the manufacturer’s instructions.
- Professional Help: If all else fails, or if you’re dealing with particularly sensitive or expensive carpeting, it may be wise to seek professional carpet cleaning services.
Always read the manufacturer’s guidelines for your specific type of carpet. Some materials require specialized care, and using the wrong cleaning products or methods can lead to irreversible damage.
How to Clean Dirty Carpet Around Baseboards: Conclusion
Cleaning the dirty carpet around baseboards doesn’t have to be a daunting task. This guide has provided you with a comprehensive, step-by-step method to tackle this specific cleaning challenge. If followed diligently, these steps can help you maintain a cleaner, healthier living space.