If your Dirt Devil vacuum has any charging problems, you’ve come to the right place. Here we will help you identify the problem your vacuum cleaner might have. . .
Table of Contents
Dirt Devil Vacuum Charging Time
When charging your Dirt Devil vacuum for the first time, you will need to charge it for about six hours but when charging the vacuum other times, you can charge it for about five and a half hours.
Dirt Devil Vacuum Not Charging – Why and How To Fix
If your Dirt Devil vacuum stops charging, it could have one of many problems. Keep on reading to figure out the problem your Dirt Devil vacuum cleaner might have . . .
The battery might be bad
If the battery of your Dirt Devil vacuum is worn out or bad, the machine won’t be able to charge properly. Follow the quick and easy steps below to replace a Dirt Devil vacuum battery . . .
Step 1. Turn your vacuum cleaner off and unplug it from the power outlet.
Step 2. Look for the battery housing unit under your vacuum cleaner then use a Phillips head screwdriver to remove the screw holding the cover plate in place then take out the cover plate and set it aside.
Step 3. Gently disconnect the wires holding the battery pack in place then take out the battery pack.
Step 4. Get a new battery pack and put it in the place of the old battery. A Dirt Devil vacuum uses a 7.2 volt Nickel-Metal Hydride battery (NiMh)
Step 5. Reconnect the wires that you disconnected before to secure the new battery.
Step 6. Put the cover plate back over the housing unit and put the screw back in its place.
Step 7. Charge the vacuum cleaner for twenty four hours before using it again.
To ensure that your Dirt Devil vacuum battery doesn’t wear out easily, make sure you do not overcharge it.
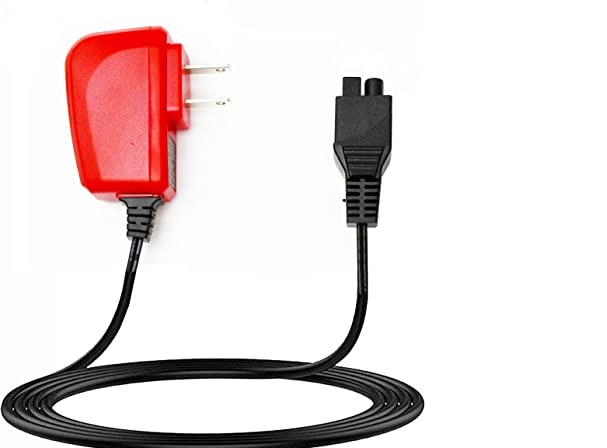
The vacuum cleaner charger might be bad
If the charger of your vacuum cleaner is bad, the machine won’t be able to charge properly. To solve the problem, you will need to buy another Dirt Devil vacuum charger to replace the old one.
A blocked charging port
If your Dirt Devil vacuum stops charging, another problem you will need to check for is a blocked charging port. Check if anything is blocking the charging port. If you are sure that the charging port is blocked, get a small object that you can use to bring out whatever may be blocking the charging and the vacuum should start charging again.
Corrosion
Another thing that can stop your Dirt Devil vacuum from charging is corrosion. Check if the brass contacts on the charger are corroded and if you detect any sign of corrosion, you will need to replace the vacuum charger.
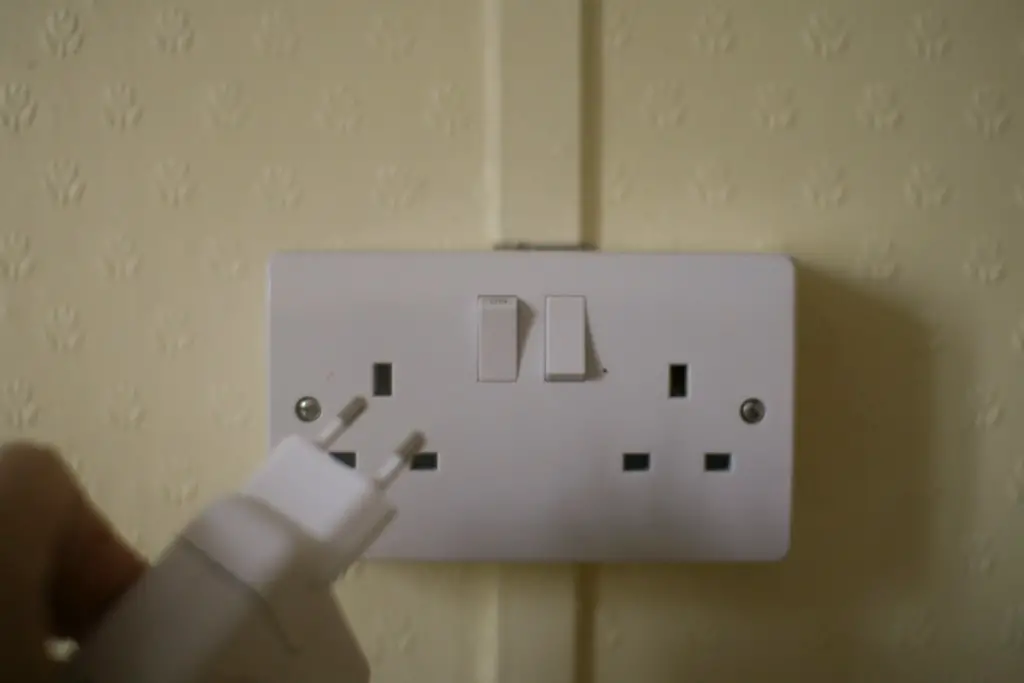
The vacuum wasn’t properly plugged in
If you don’t plug your vacuum charger into the power outlet properly it won’t be able to charge.
To solve the problem, push the charger into the power outlet properly and the vacuum cleaner will start charging again.
The power socket is bad
Another thing that can stop your Dirt Devil vacuum from charging is a bad power outlet. Check if the power outlet is bad by moving your vacuum to another outlet. If you are sure that the power outlet is bad, you will need to call an electrician to replace it for you.
The vacuum is overheating
If your vacuum is overheating, it won’t be able to charge. To solve the problem, you will need to wash the vacuum filter. Here’s how to wash a dirt devil vacuum filter.
The brush roller has been damaged
If your Dirt Devil vacuum brush roller is damaged the machine won’t be able to charge. To solve the problem, you will need to replace the brush roller. Here’s how to replace the brush roller of your Dirt Devil vacuum cleaner . . .
Step 1. Turn your vacuum cleaner off and unplug it from the power outlet.
Step 2. Keep your vacuum with the front side facing upwards.
Step 3. Use a Phillips head screwdriver to remove all the screws holding the cover of the brush roller in place.
Step 4. Take out the cover of the brush roller and set it aside.
Step 5. Remove the brush roller from its place in the vacuum.
Step 6. Put a new brush roller in the place of the old brush roller.
Step 7. Put the cover back on the brush roller and put the screws back in their places.
Step 8. Plug your vacuum back into the power outlet and check if it is working properly now.